Rabbitry Rebuild - photos below
THE RABBITRY REBUILD- when I started my rabbitry we were living on a 22 acre ranch of oak woods along with goats, llamas, and horses (hense the name AcornHill Ranch) and I had a gorgeous 40x40 red with white trimmed building to house my rabbitry. In 2009 it was decided that we would move back into town and the rabbitry was a long narrow room with tower cages with pans (made by our local cage builder). It was cooled with a swamp cooler and a ventilation system in the ceiling/roof and window. Winter isn't really an issue - I enjoy the cold as much as they do and if needed a 60w light bulb is enough for extra warming.
Like most everyone I don't look forward to cleaning pans, especially when it comes time to "burn" the cages (we use a propane weed torch to burn off hair, etc), disposing of the "waste" and using pine pellets and sweet PDZ was costing a good bit and I needed to replace some cages that were several years old along with increasing airflow for summer months (the tower cages restricted airflow)....so with some research and a willing builder (my husband) the new rabbitry design was started.
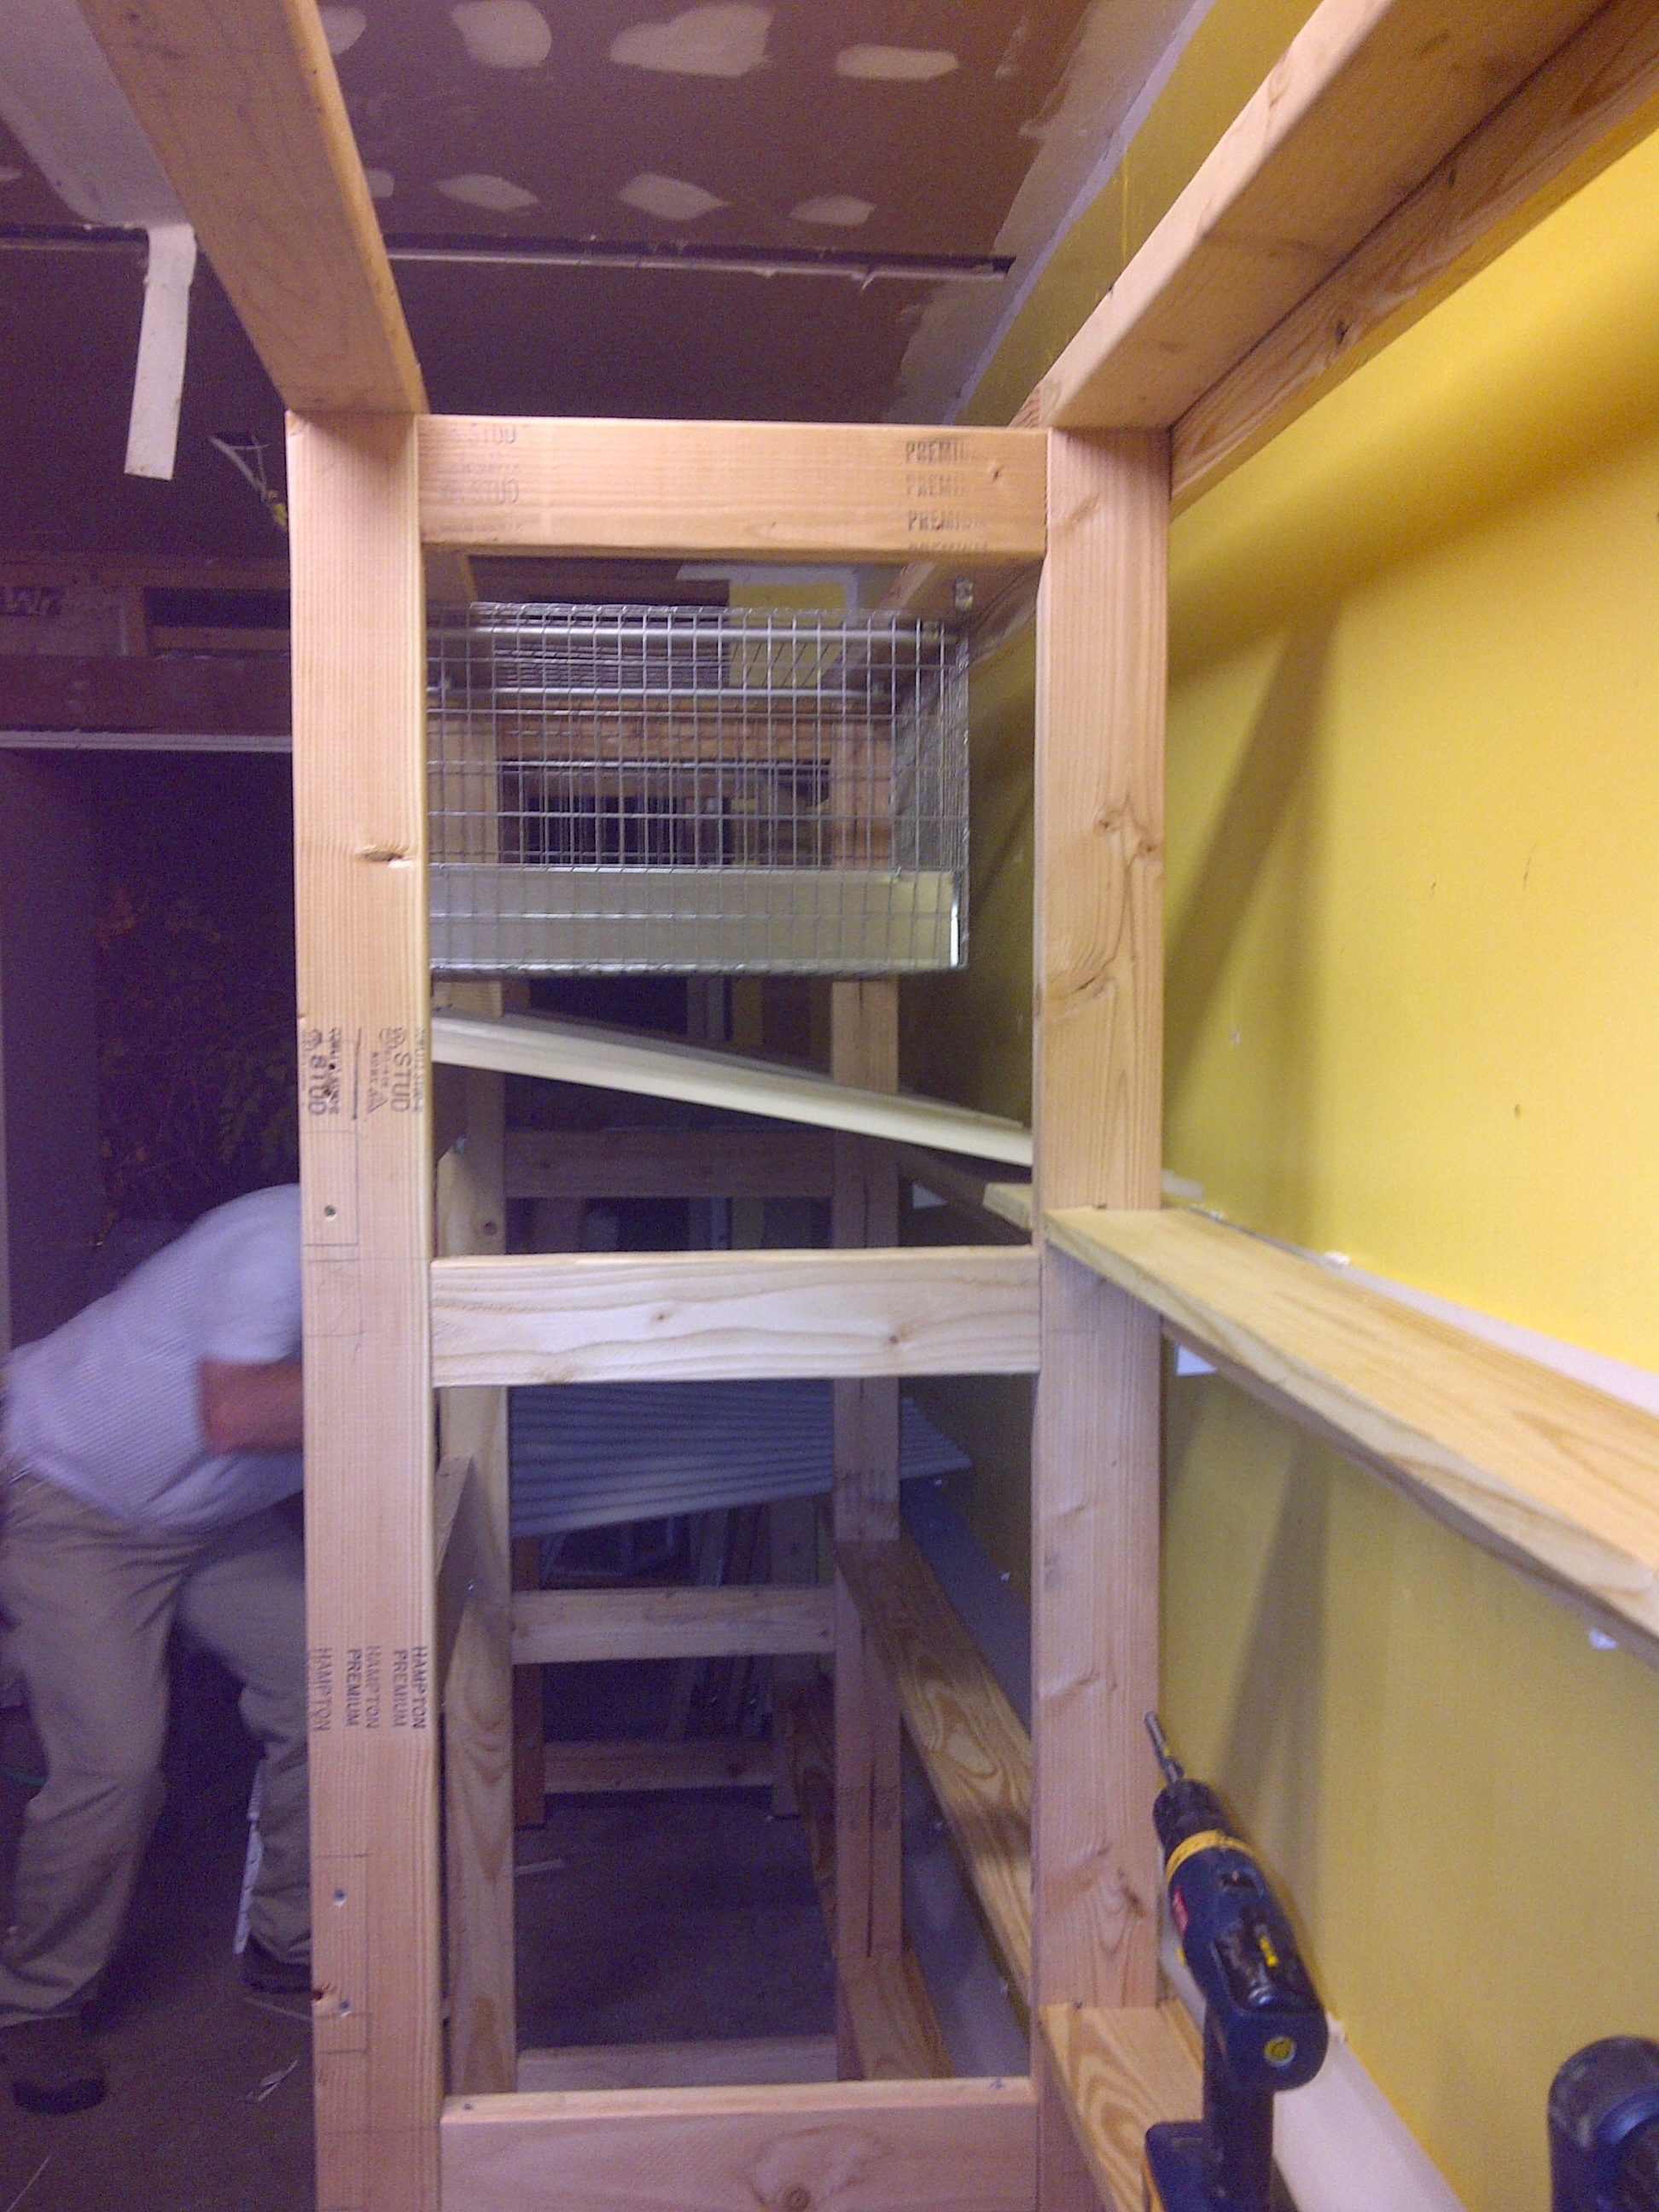
The object of the build was to have sheetrock/insulation on all the walls completed, walls painted or plastic covered (found a special kitchen/bath paint at Lowe's that is truly scrubable and Fresh N' Clean with oxy works great), work/storage area and have a cage setup that did not use pans and allowed me to remove one cage at a time, as needed, along with improved air flow.
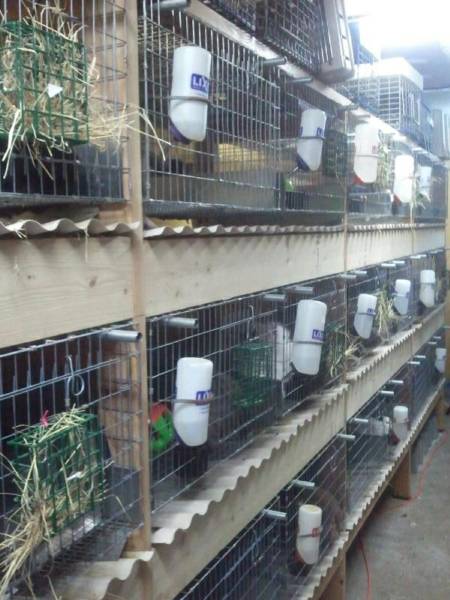
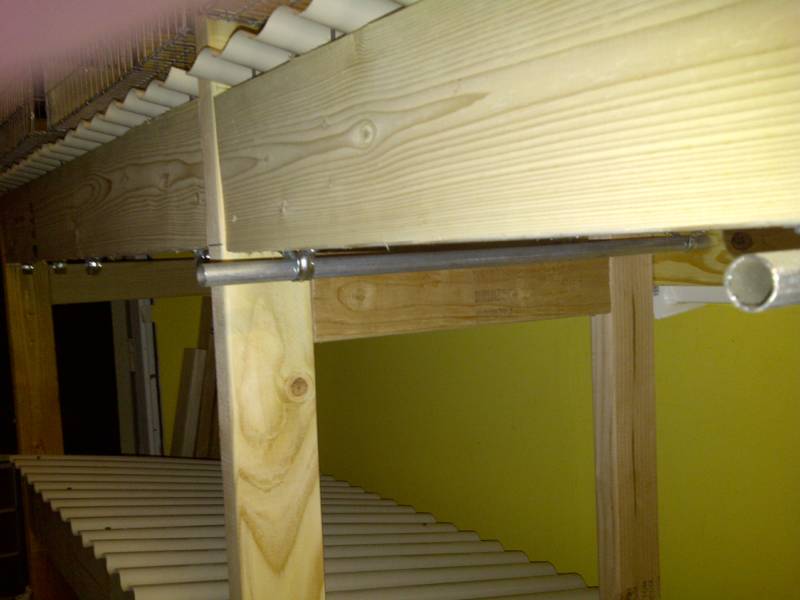
The solution was a wood racked system with a drop shute/gutter system and indiv. cages that are suspended using conduit pipe and c-clamps. Remove two pipes and the cage comes down - something one person can do alone (depending on weight of rabbit of course). Greg built one section (6 cages to a section) and I used two cages for a month to try out drainage slopes, etc and this past weekend on Nov. 19th the rest of the rabbitry was started. We'll do the doe side first and I'll try to post pics as it goes along. Drops are made of corrogated resin material, urine shields of metal were added to wood corners, pvc gutter for the back trough and round pvc pipe for the downspout at the ends. Greg made a solid rubber edger in the same shape as the curved drop trays added to a pole - so that the trays can be scraped into the gutter. If there's build up - simply remove the cage (rabbit and all) and clean and return the cage. The waste exits the room to a filtering bucket that seperates the waste (to be composted) and all liquid is stored for reuse on the landscape.
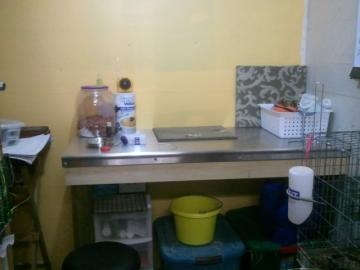
Here's the pic of the table and the end of the rabbitry (not finished still needs shelving, 2nd coat of paint, air vent and we are adding air conditioning with an alarm that will call us should the power go out). So what's that beautiful rolled edged stainless steel table made of...? Its a refrigerator door...when a frig is delivered with damage they replace the door and throw it away...even the side not damaged...so Greg got one...its solid, easy cleaning and not heavy. He mounted it to the wall, trimmed to the width, height, etc. that I needed. Wonderful having a construction project manager around.
I use clamp down lidded contaners (under bench) for feed and hay. I'll hang the grooming table now and metal shelving will be put in along the wall on the left. On the right wall is a metal white board. The shelving unit will hold 5 & 7gal clamp down lidded containers for water bottles, feed bowls, etc.)
Fall 2012 update - found that during nesting season pulling the debri forward onto the floor works very easily (hense not blockig the pump system). Its dry and sweeps up just fine.
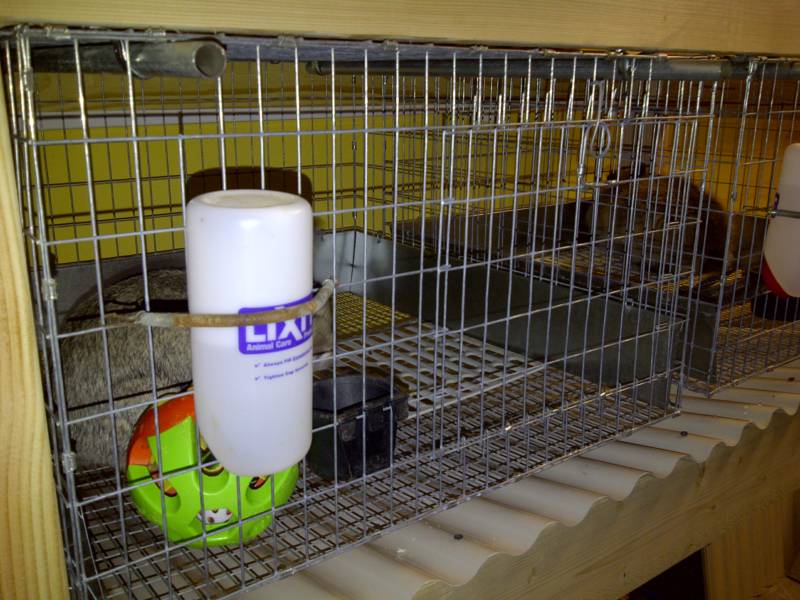
Tip of the month: suet feeders like the one below sell for only $1.50 and work perfectly as hay racks hung outside the cage via a zip tie. I've only had 1 set of kits chew the covered wire. I hang them on the drop front doors of the cages.